With so many people working from home, or learning or sharing or just watching something, our home network has never been more important. Here is something you can do to disable tracking and advertising on all your devices with just a Raspberry Pi and Pi-hole.
A Raspberry Pi is a 30$ computer and we will be installing Pi-hole on it, a tool that blocks ads and tracking domains on a network.
At first I thought Pi-hole was like AdBlock or uBlock Origin but less effective and error-prone. Why? Cause Pi-hole works at the DNS level and can’t apply complex rules: it either blocks a domain or it doesn’t.
The DNS is what translates domains (eg: medium.com) into IP addresses.
AdBlock/uBlock can block a script from a domain or a specific URL that contains the word «tracking» or «advertising» for example instead of blocking everything from that domain.
On top of that, these browser extensions can modify the HTML of the page and remove certain parts so you don’t see blank spaces.
But Pi-hole is much faster. Blocking domains that are on a block list is an easy task and doesn’t require clients to install anything.
This is very interesting for mobile phones for example where you can’t install extensions, or you can but you don’t want to slow down the browser.
Speaking of phones, the most important advantage of Pi-hole is that it works everywhere. Any device connected to the network is «protected». Your smart TV is tracking you? Not any more. Your operating system? Fuck that! Apps showing ads? IoT devices? Pi-hole will filter pretty much all the traffic on your network!
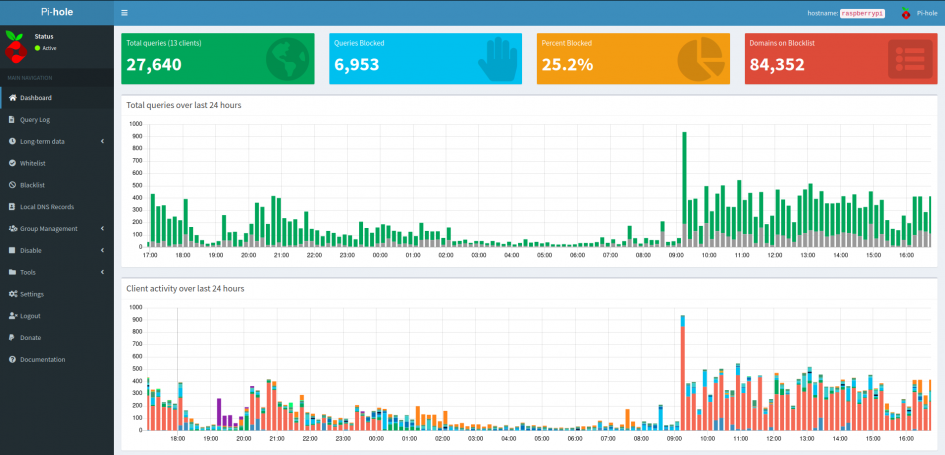
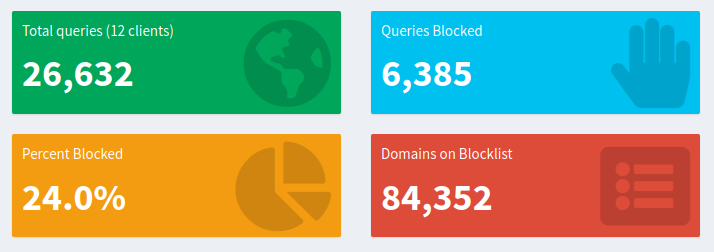
On a typical day at home around 25% of all DNS queries are blocked. Isn’t that crazy?
After months using Pi-hole at home I am now absolutely convinced it is a great tool. Not a single problem with it. Once you install it you can forget about it.
The hardware
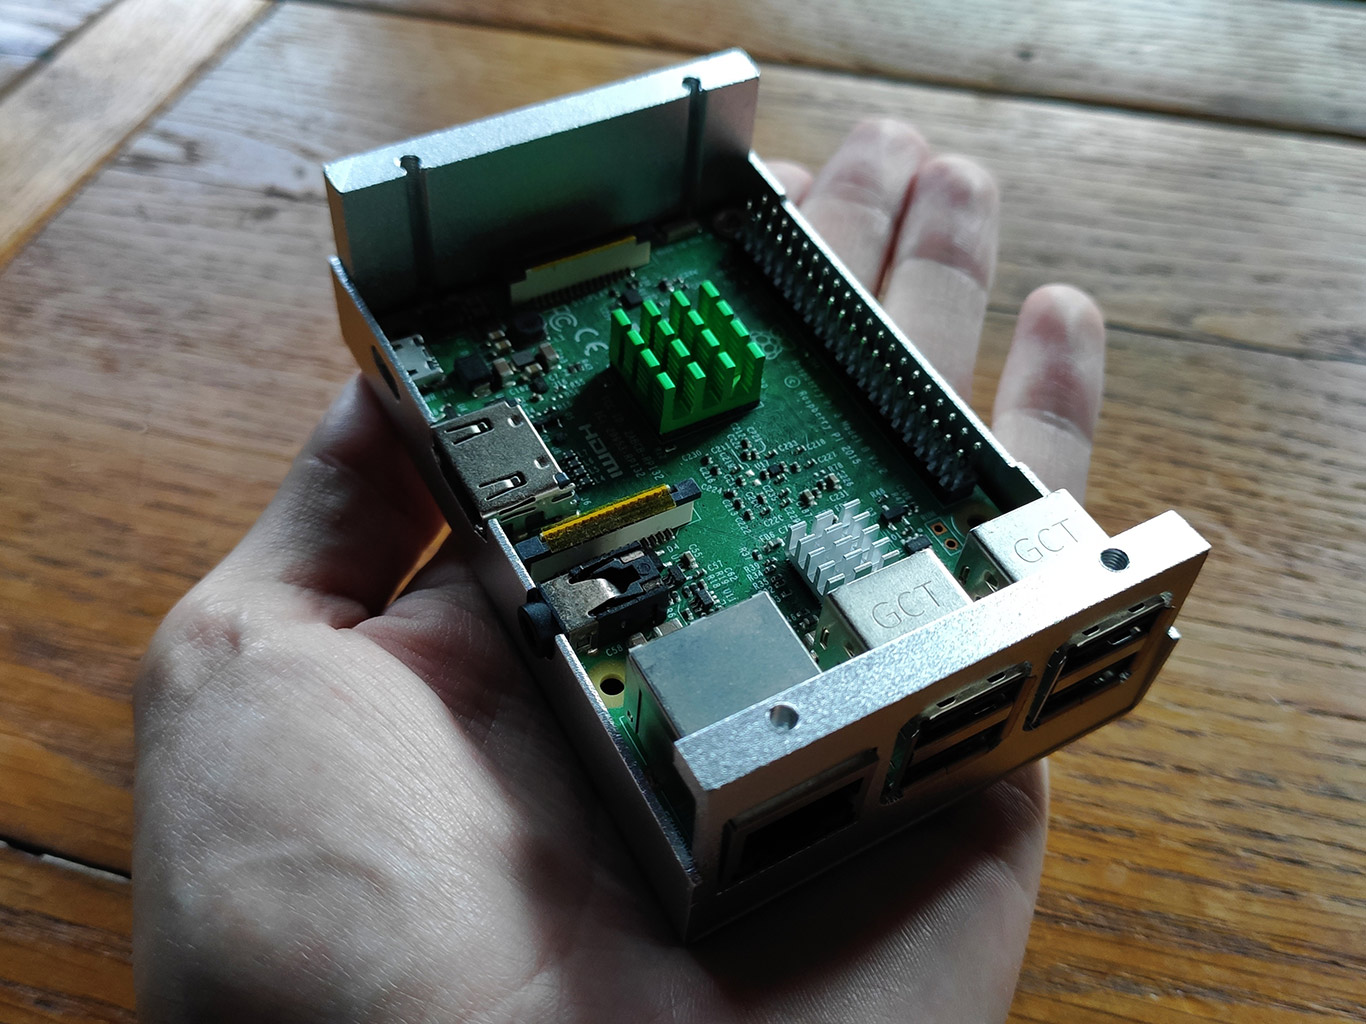
Pi-hole works best with a Raspberry Pi. I am using a Raspberry Pi 3 Model B which is a bit old but has more than enough power for this. A Model B+ or would work too or you can go for one of the latest Raspberry Pi 4 models. A second hand one is also a valid option.
You will need a power cable, although you probably have one already at home. Check here for the recommended specs for the power supply depending on the model: Raspberry Pi Products
The Model 3B for example requires a micro USB 2.1 Amp power supply.
You will need an SD card or micro SD card for the Raspberry depending on the model you pick. 8GB is enough but 16GB is recommended and cards are cheap anyways. Find one that is available and make sure it is not listed here in red: Working and non working SD cards.
The software
Operating System
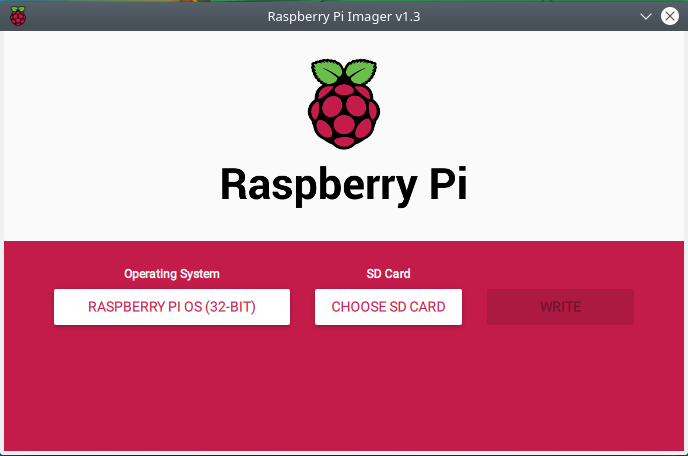
First of all you will need to install the operating system designed for the Raspberry Pi. This is super easy, all you need is the SD card and a tool called Raspberry Pi Imager.
Select the card, select the recommended OS and wait for it to complete. That’s it, you can plug the card into the Raspberry, connect it to the TV for example and boot!
Pi-hole
Installing Pi-hole is not much harder to be honest. Once you have your Raspberry running, connect a monitor (or ssh into it) and open a terminal to run:
curl -sSL https://install.pi-hole.net | bash
I recommend that you find a place to leave the Raspberry installed, maybe connected with an ethernet cable next to your router but you can also just use Wi-Fi. Whatever you do, it is better to pick a place first and then install Pi-hole so you don’t have to mess around with the configuration later.
Router configuration
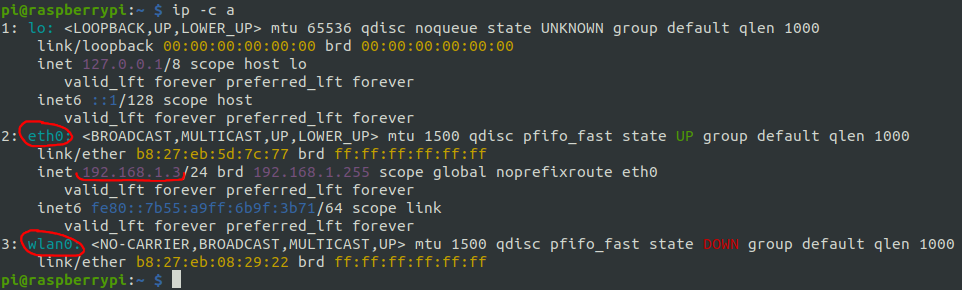
Once it is installed there is one last step to make all the DNS queries on your network go through the Pi-hole: enter your router configuration panel and under LAN or Local Network you should find DHCP configuration. There you will have to replace the DNS server with the IP of your Raspberry Pi. If you are not sure, open a terminal on your Raspberry and type:
ip -c a
Here is an example, in my case the IP is 192.168.1.3. If you are using Wi-Fi, check wlan0 instead of eth0:
After saving your DNS settings whenever a new device connects to your router, it will start using Pi-hole. Try it out, on your phone disable Wi-Fi and enable it again to force a reconnection. Enter a page that has ads everywhere and see if they are gone!
Fine-tuning
Static IP for your Raspberry Pi
It is highly recommended that you assign a static IP to your Raspberry Pi. Otherwise one day it will change and you won’t have internet until you update the IP. Should be easy to change this on your router but you will have to have a look around as each router is different.
Pi-hole Dashboard
To open your Pi-hole admin panel enter your IP like this:
http://192.168.1.3/admin
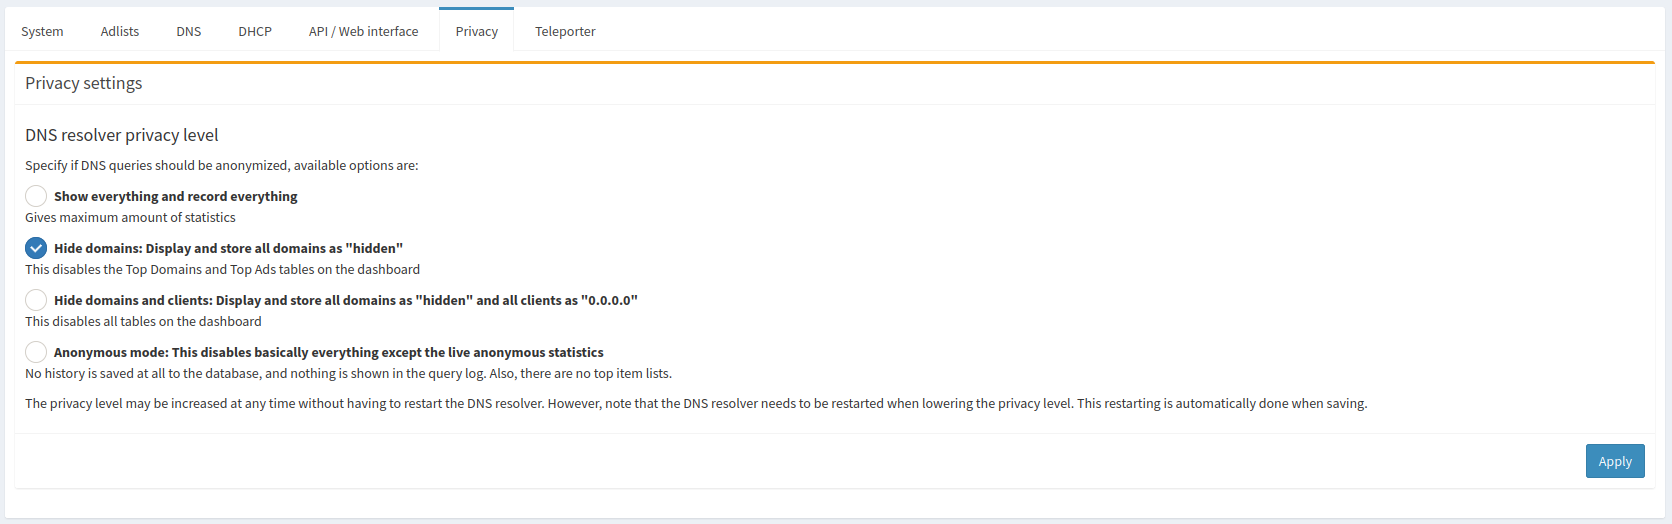
Lets change the Privacy Settings for example, so you do not see what others on your network are visiting (yeah you don’t want to see that, trust me):
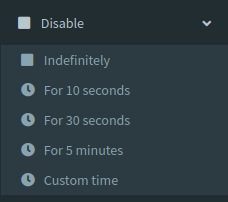
You can also disable Pi-hole temporarily from the menu on the left, for example if you can’t enter your Google Analytics Dashboard or if there is something wrong with a page:
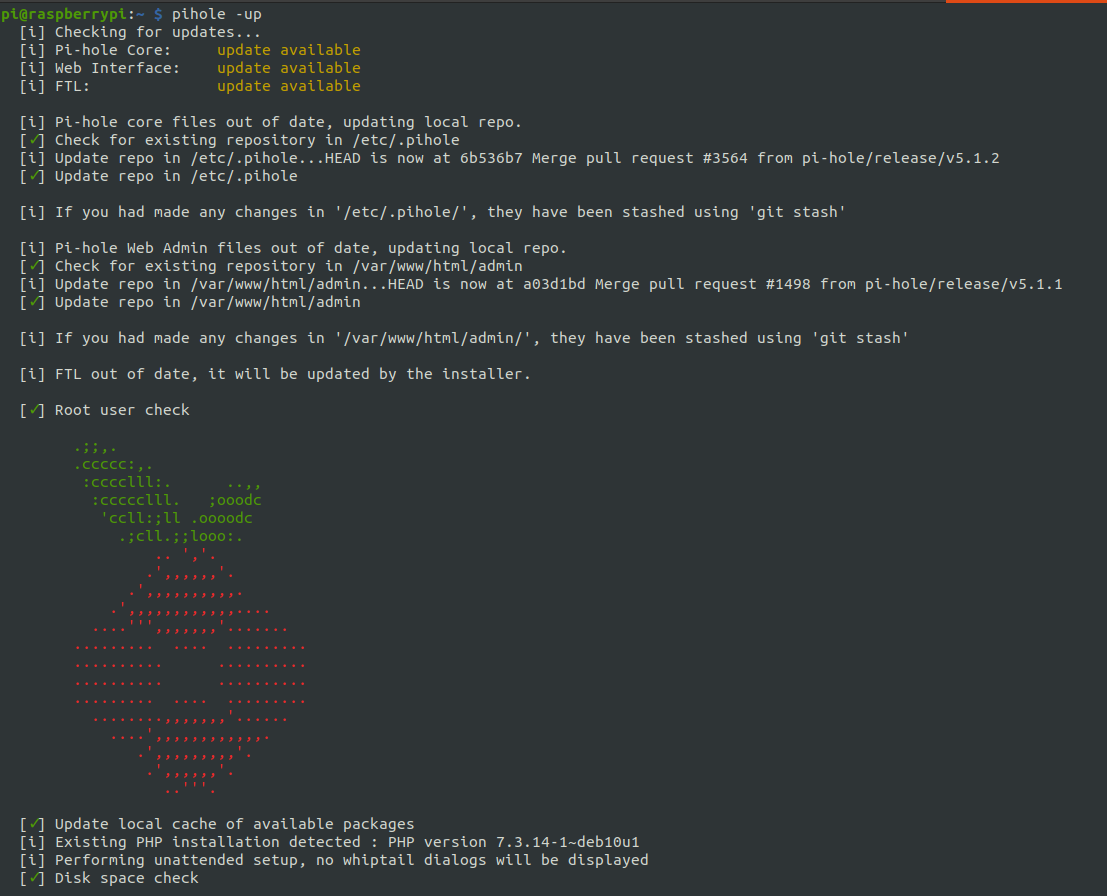
In case you look at the footer one day and see that there is a new version of Pi-hole, just ssh into your Raspberry with your password:
ssh pi@192.168.1.3
And run this command to update Pi-hole:
pihole -up
If you find Pi-hole useful you can donate to the project. It is open source and they are doing a fantastic job, they sure will appreciate all contributions: Donate to Pi-hole
Feel free to write a comment down below or tweet me if you need help or have trouble with the Raspberry and Pi-hole 😊